I haven’t posted in a while, but that doesn’t mean things haven’t been happening over here at The Pocket. Last month, the entire interior was painted. We moved downstairs for a week while the guys from Brush Painting went to town on the main floor.

The first step in painting was to remove all of the doors and stack them in one room. They papered all the floors and then painted the ceilings.

This is a view of the living room with all of our stuff covered and the ceilings painted. That’s our fridge on the right hand side. It’s been in the living room for 5 months. It was covered with plastic while painting, but we were able to bust through now and then in order to eat. This fridge gets banished to the garage once the kitchen is done.

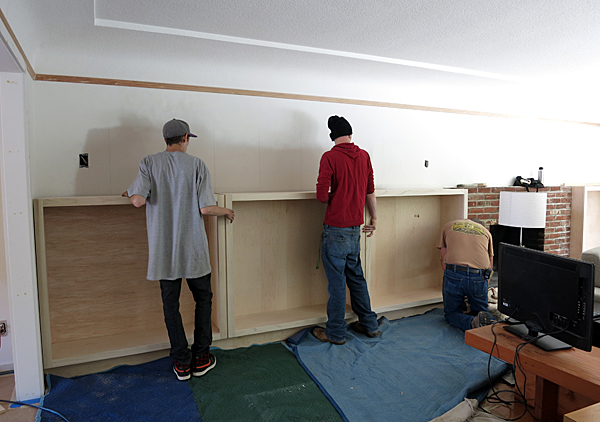
This is a view of the built in cabinetry in the living room with the ceilings painted. That’s our sofa and living room stuff piled in the center of the room.

After the ceilings were painted they prepped to paint the trim. They covered the ceilings with plastic so they didn’t get any trim paint on them. They then covered the walls around the trim.

This is a view of the master bedroom. The ceilings are covered with plastic. The walls are masked with paper next to the trim. The bare lightbulb is also covered with paper.

All of the trim, including the built-in, are sprayed with paint.

The shelves for the built in were laid on the floor and sprayed at the same time as the trim.

The doors were stood up and held with blocks of wood. These were sprayed at the same time as the trim. This is a view of all of the doors in the master bedroom.

This is a view looking down the bedroom hall while they were spraying trim.

This is a view of the entry hall while they were painting trim.

This is a view of the living room while they were painting trim.
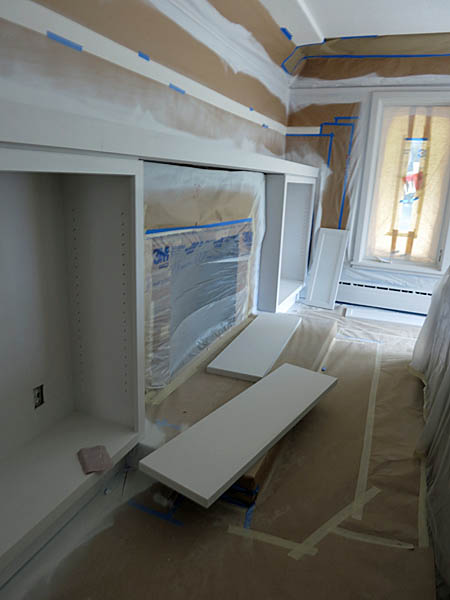
This is the built in while they were painting trim.

90% of the time was spent on prep – 6 guys for 6 hours. The guys sanded every surface over and over. The trim finish is like glass – it’s so smooth! Once they sanded, one guy came through with the sprayer and sprayed everything in about an hour. They then repeated the process until it was perfect.

Another view of the built-in during trim painting.

To quickly dry and seal the paint, they heated up the house with a propane heater. This is the propane tank, sitting on the front porch.

Inside the entry hall was the heater. It was over 100 degrees inside and incredibly humid with all of the wet paint. Quite frankly, it was unbearable inside! But no pain, no gain 🙂

We lived in the basement for the week while painting happened. Not the most comfortable accommodations – but at least the dog was happy. That’s my sleeping bag he’s lying on!

We hosted a BBQ for the painters one day – they deserved it!

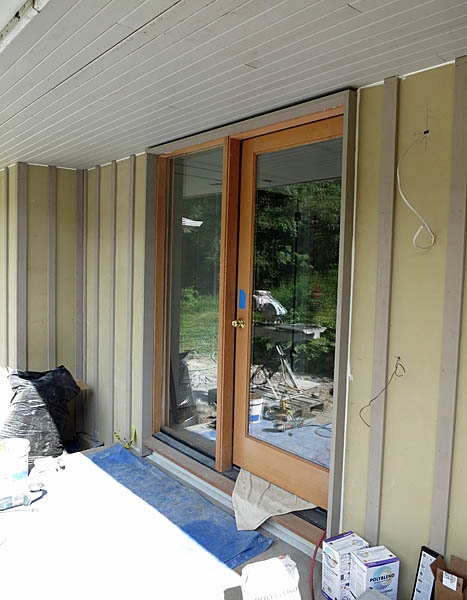
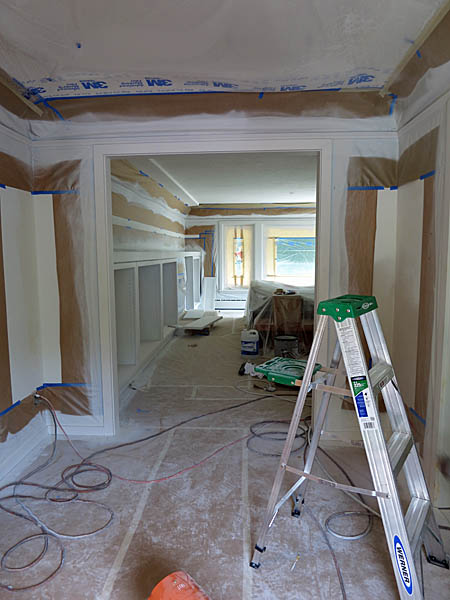
After the trim was painted, the paper masking was removed and the walls were painted. They covered the trim with paper – but I don’t have any pictures of that! This is a view of the kitchen.

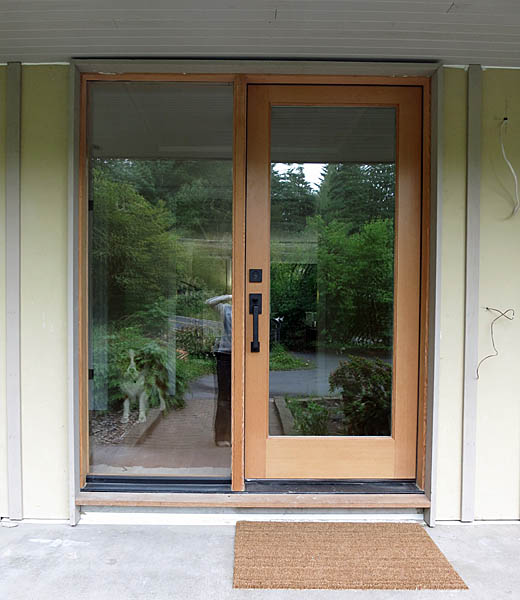
This is a view of the doors after painting. The painters re-installed all of the doors when they were done.

More doors.